
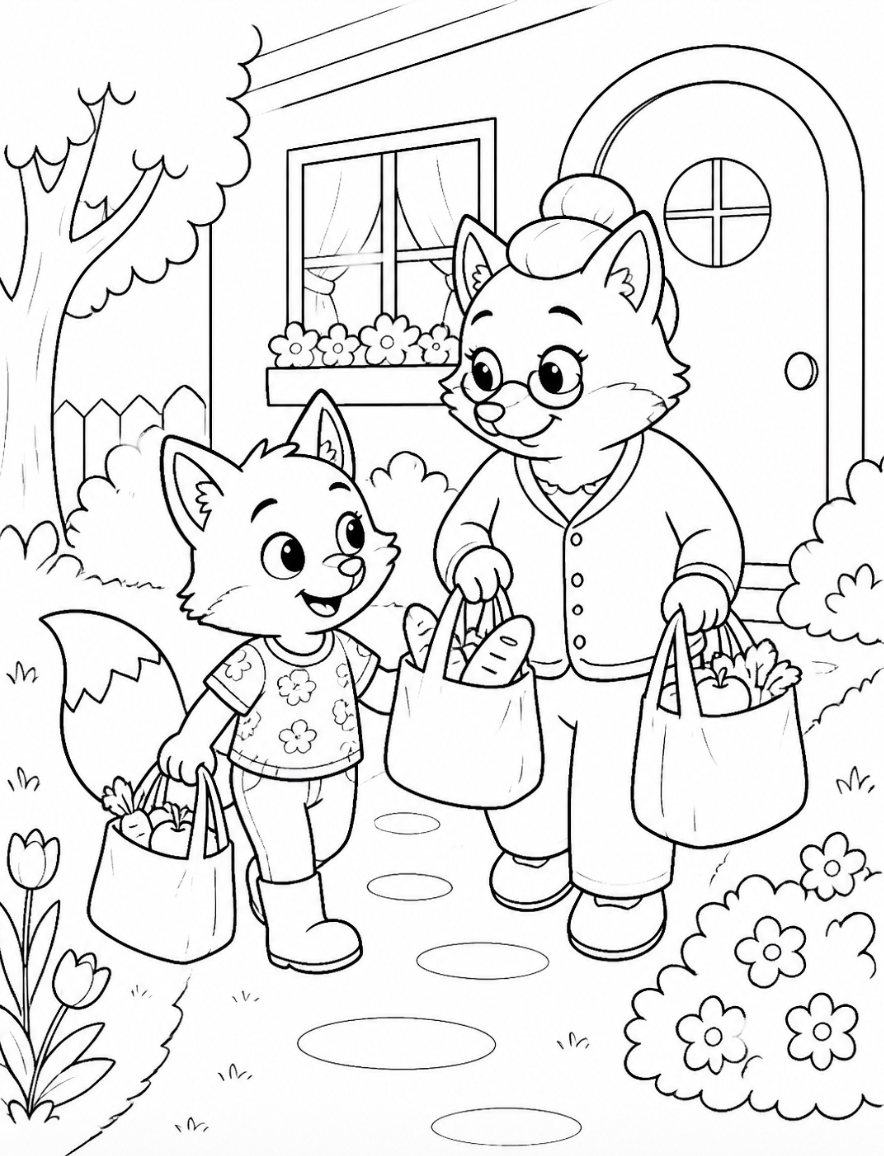
You’ve made a story that feels just like your child. Now comes the lovely part: turning that digital file into something they can hold, color, and show you with a very proud smile.
You don’t need a special craft printer to get started. A printer that handles ordinary documents, compatible paper, and the finished PDF are enough for everyday coloring. Here’s a simple way to make that first print feel easy.
Start with the finished PDF
Download your completed story and save it somewhere you’ll remember before printing. Use the PDF itself, rather than a screenshot or an image taken from the preview video. The preview is a peek at the story; the finished download contains the pages intended for printing.
Give the file a useful name, such as “Amelia’s School Story,” and keep it in a folder with your other family printables. That way, a favorite page is easy to find again.
Choose paper for the way they color
For crayons and colored pencils, ordinary white printer paper is a good place to begin. It’s easy to replace, and there’s no pressure to make every page a masterpiece. A smooth, slightly heavier paper can be nice when you want a sturdier keepsake.
Before buying heavier paper or cardstock, check the paper weights and types supported by your printer. Choose paper intended for your printer type, and use the matching paper setting. Thicker isn’t automatically better if the printer can’t feed it properly.
For markers, place a spare sheet or protective mat underneath the coloring page. Test the markers on your chosen paper first; heavier paper does not guarantee that ink won’t bleed through.
Your first-print checklist
- Open the saved PDF and choose Print.
- Select the printer and the paper size actually loaded in its tray.
- Use portrait orientation and one page per sheet.
- Choose a fitting option if the preview shows clipped edges.
- Print one test page before the whole story.
- Check the outlines and margins, then print the remaining pages.
Give every outline room on the page
Wonderful You Stories PDFs use US Letter pages: 8.5 × 11 inches. If you’re using A4, select A4 as the paper size and check the scaling preview rather than forcing Letter settings onto a different sheet.
In Adobe Acrobat or Reader, “Fit” adjusts a page to the selected paper size, while “Shrink oversized pages” reduces pages that are too large. Check the preview for the result you want. Adobe’s page-scaling guide explains these options. Other print apps may use slightly different names.
For coloring, single-sided printing leaves a clean back and makes it easier to display individual pages. Start with standard print quality; if an ink-saving setting makes the outlines too faint, turn it off and try another test page.
If the print looks a little off
- Edges are missing: check the paper size, orientation, and fitting setting.
- Lines look faint or streaky: check ink or toner and follow your printer’s maintenance instructions.
- The picture looks blurry: make sure you opened the downloaded PDF rather than a screenshot.
- Paper won’t feed: check the tray guides and your printer’s supported paper specifications.
Once the pages are ready, pop them into a folder or let your child choose just one to begin with. Keep the saved original for personal-use reprints, and let the coloring itself be wonderfully imperfect.