
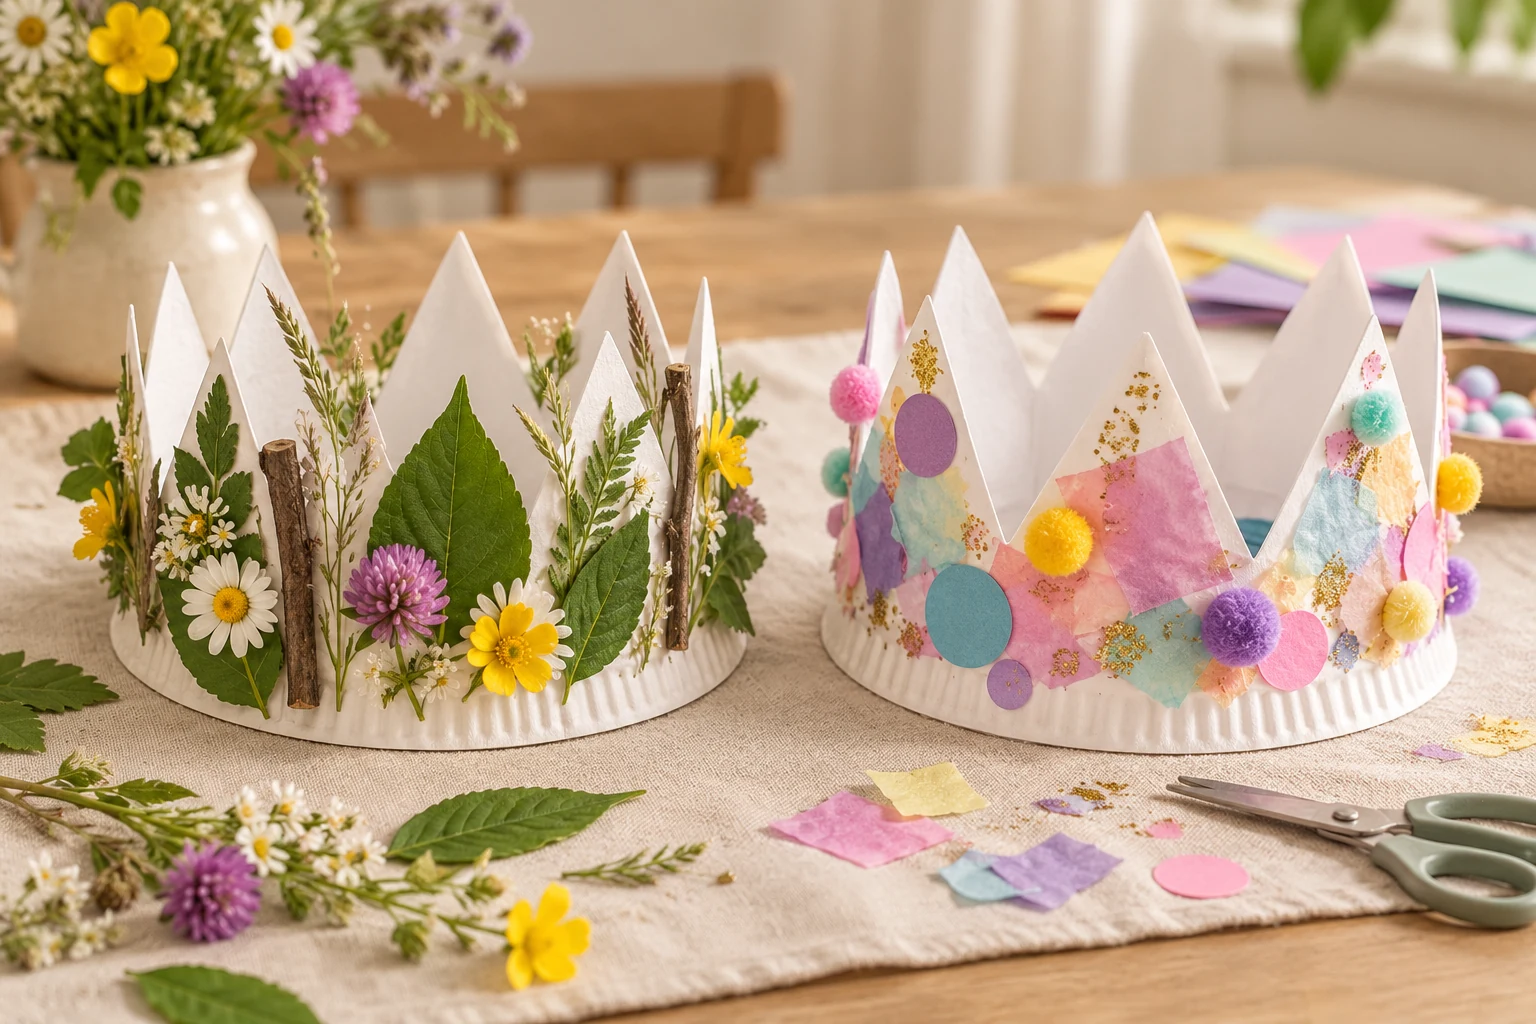
There is something wonderfully magical about turning an everyday object into something fit for a king or queen. This paper plate crown begins with just one plate—no template required—and leaves plenty of room for children to decorate, imagine and make it their own.
Below, we’ll make the basic crown together and then explore two decorating ideas: a nature crown filled with gathered treasures and a colorful craft crown made with tissue paper, pompoms and a little sparkle.
Supplies for the basic crown
- One white paper plate per crown
- Pencil
- Ruler
- Child-safe scissors
- A self-healing cutting mat, optional, for the grown-up cutting step
- Washable craft glue
- Decorating materials of your choice
A grown-up should make the center opening and supervise all cutting. If the crown is for a very young child, keep small items such as pompoms and loose natural materials out of reach unless closely supervised.
How to make the crown
1. Mark eight sections
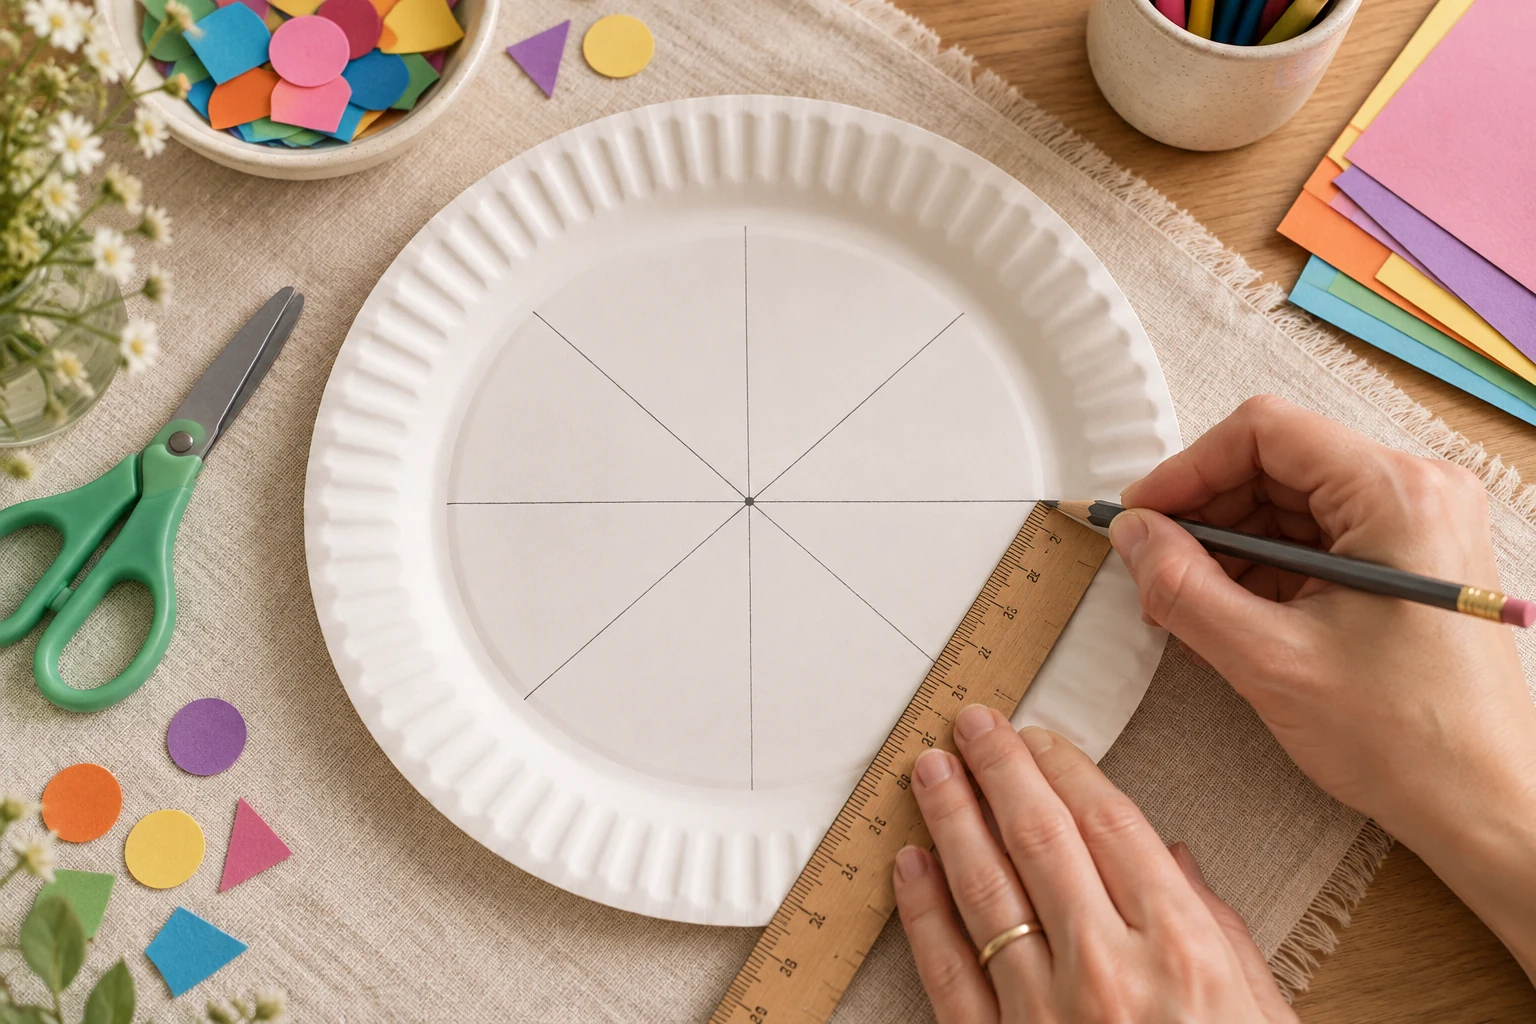
Place the paper plate right side up. Find the center and make a small pencil dot. Using a ruler, draw eight evenly spaced lines from that center point toward the inside edge of the plate—like slicing a pizza into eight pieces.
Stop every line where the flat center meets the raised outer rim. Do not draw or cut through the rim. The uncut rim is what holds the crown together and becomes the band around the child’s head.
2. Cut along the lines
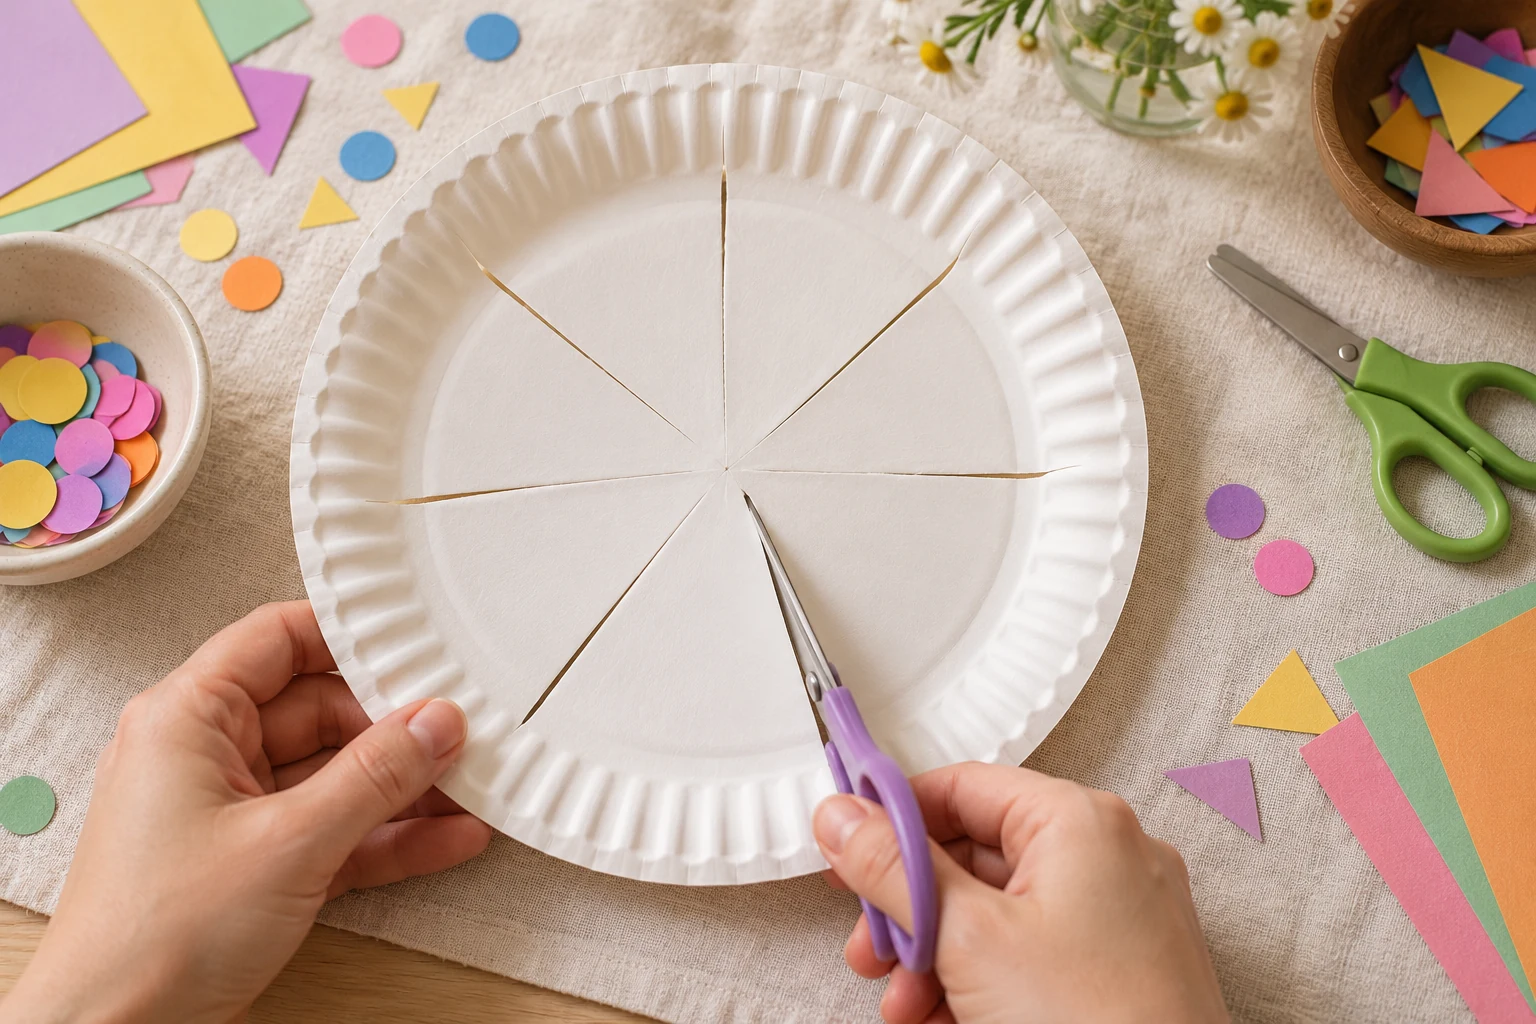
Ask an adult to carefully poke a small opening at the center point. Insert the scissors and cut along each pencil line, stopping before the raised rim. When all the lines are cut, the center of the plate should be divided into eight attached triangular flaps.
See the self-healing cutting mat on Amazon.
3. Fold the points upward
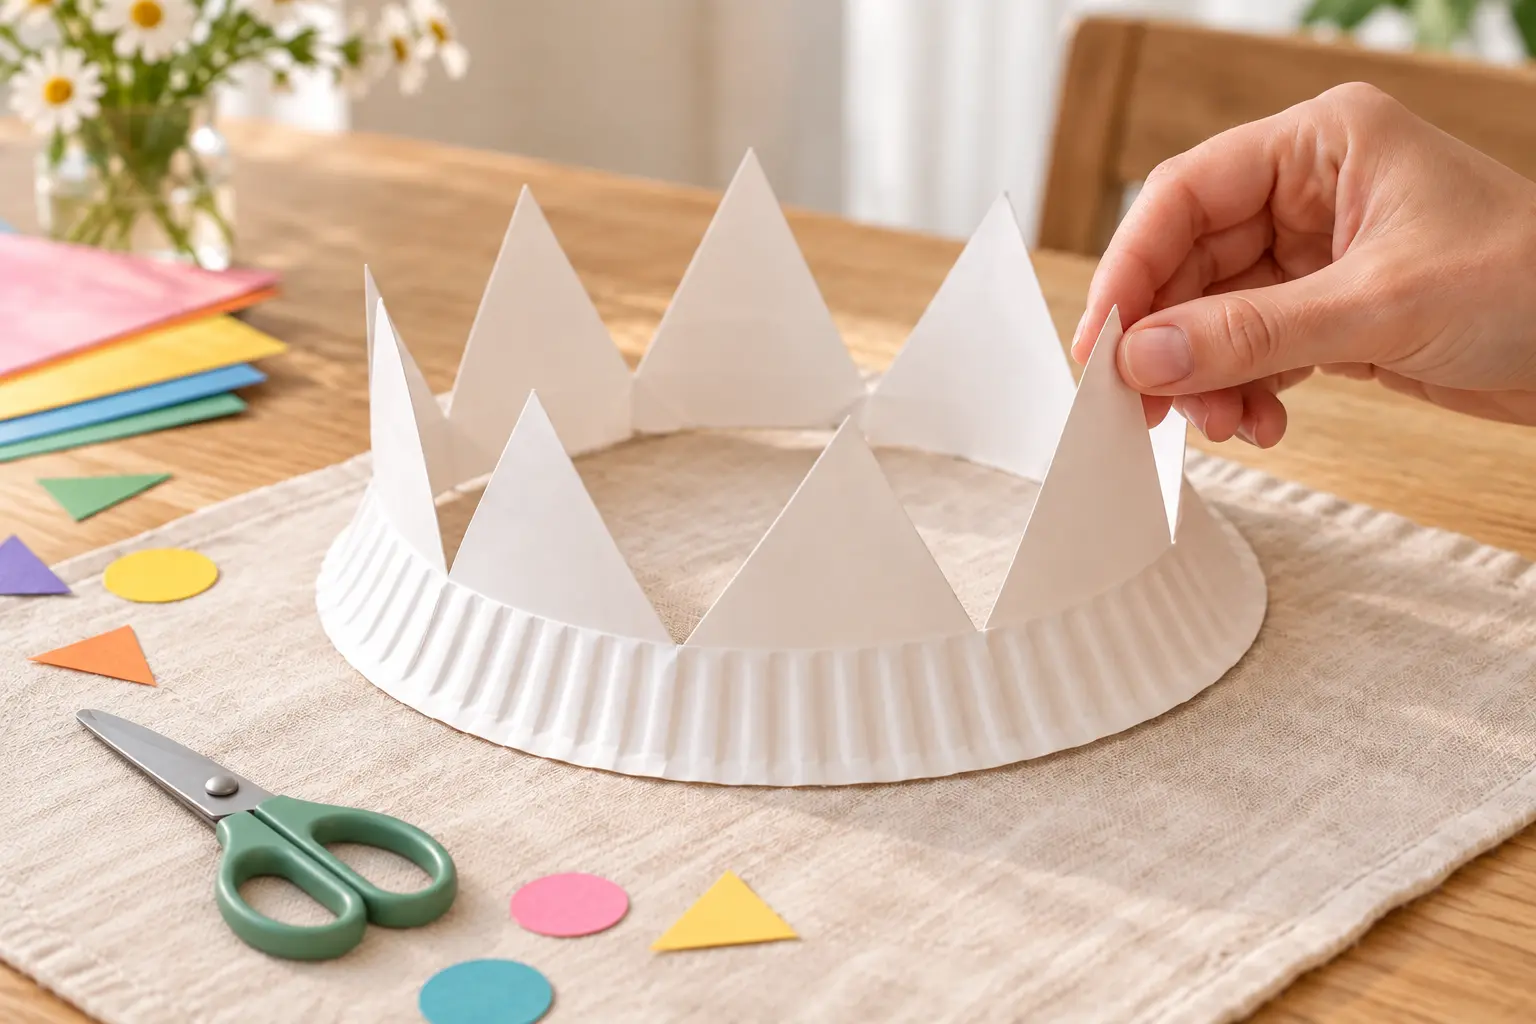
Fold each triangle upward where the flat center meets the outer rim. Press along each fold to give it a gentle crease. Continue around the plate until all eight points stand up and the paper plate looks like a crown.
Before decorating, gently try it on. Paper plates vary in size, so choose a larger plate when making a crown for an older child or adult.
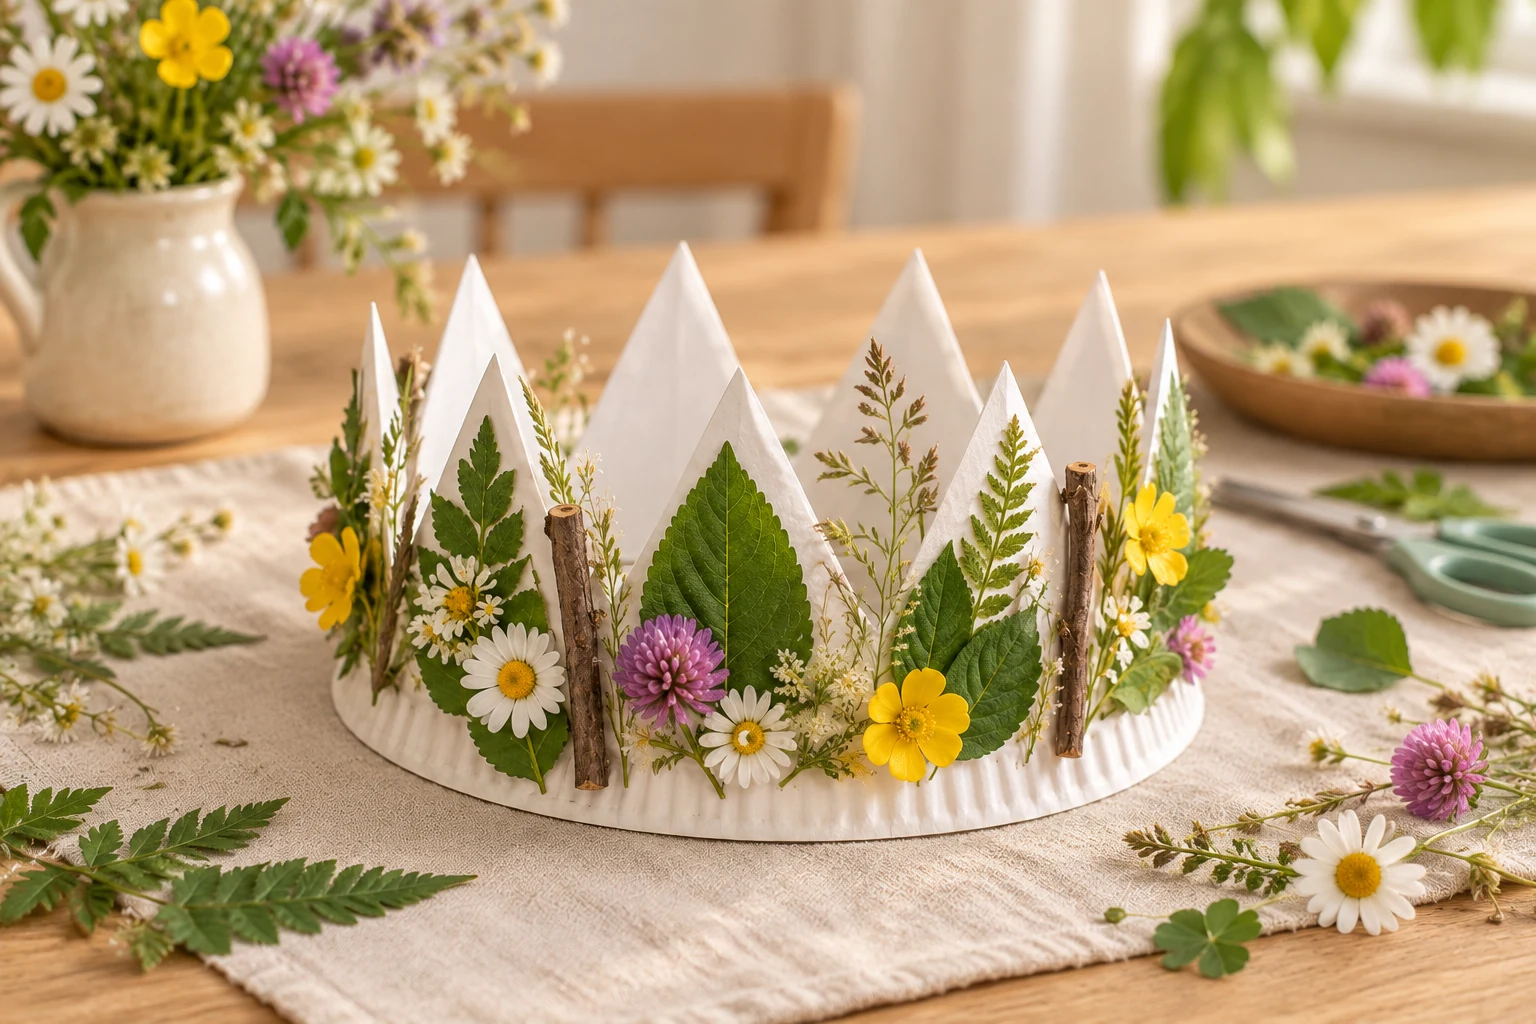
Decorating idea one: A nature crown
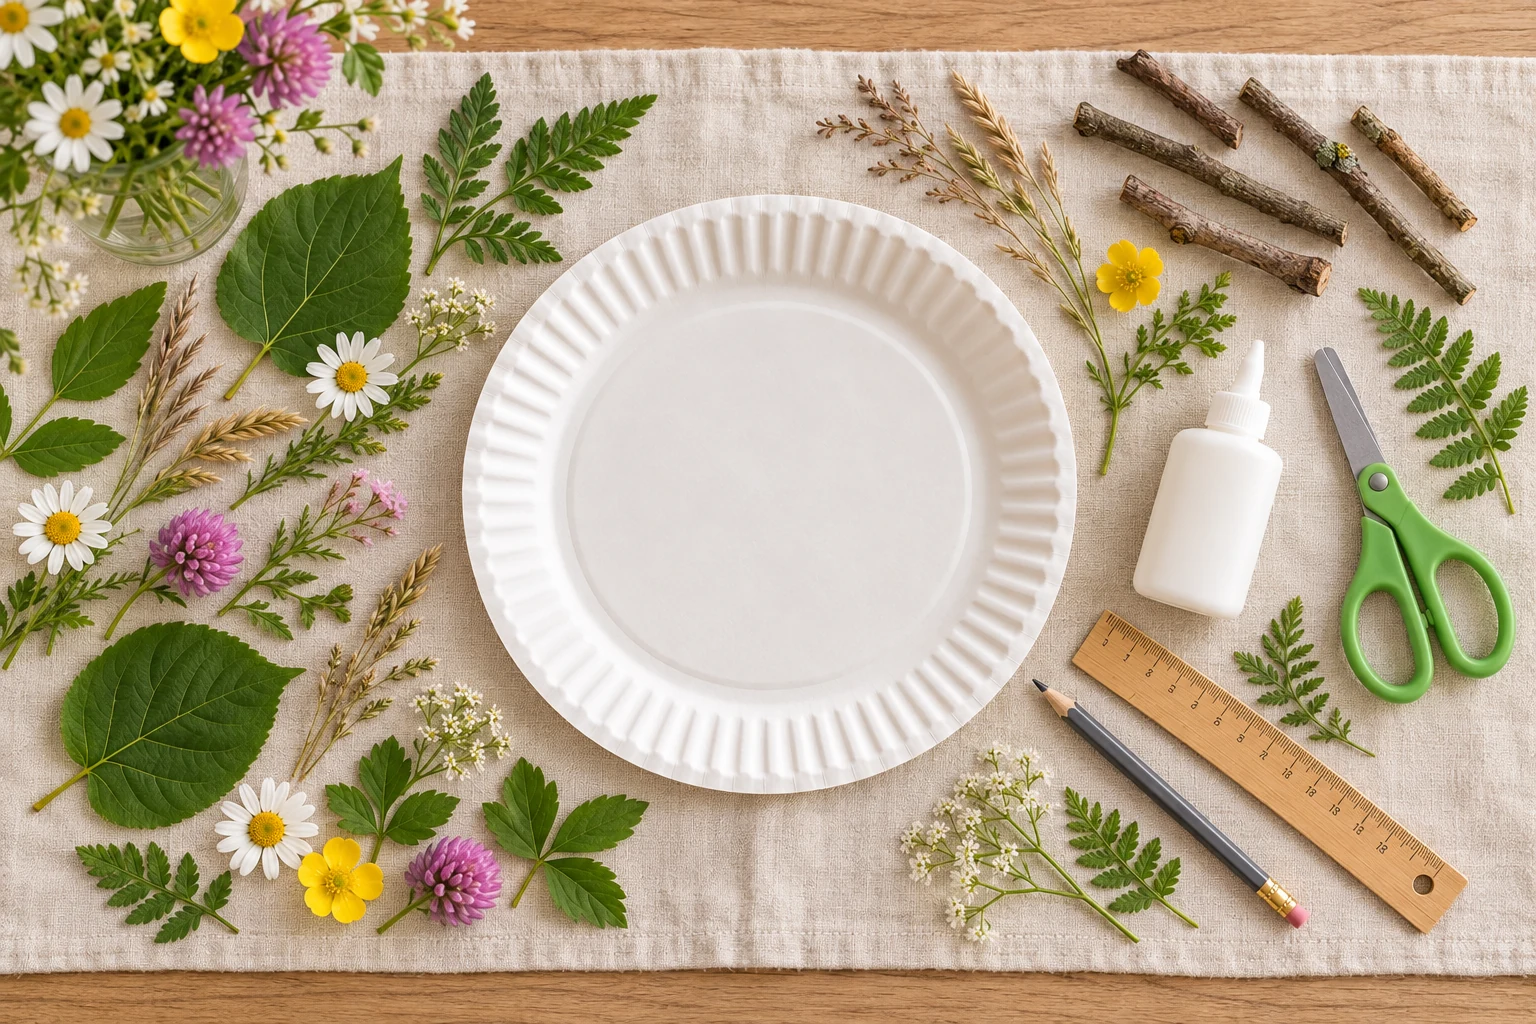
Turn the decorating into part of the adventure by taking a short nature walk first. Look for fallen leaves, grasses, tiny flowers and smooth twigs that are light enough to attach to paper.
Nature crown materials
- Leaves in a variety of shapes and sizes
- Small flowers or flower petals
- Ferns or grasses
- Short, smooth twigs
- Washable craft glue
Only collect plants you recognize as safe to handle. Avoid unknown berries, mushrooms, thorny plants and anything treated with pesticides. Fallen materials are a lovely choice, and it’s always best to ask before picking flowers.
Pat the materials dry before gluing. Arrange the larger leaves first, add flowers and grasses between them, and finish with one or two small twigs for height and texture. Fresh leaves and flowers will naturally wilt with time, making this a beautiful crown for a day of imaginative play. For a longer-lasting crown, use pressed or dried finds.
Decorating idea two: A colorful craft crown
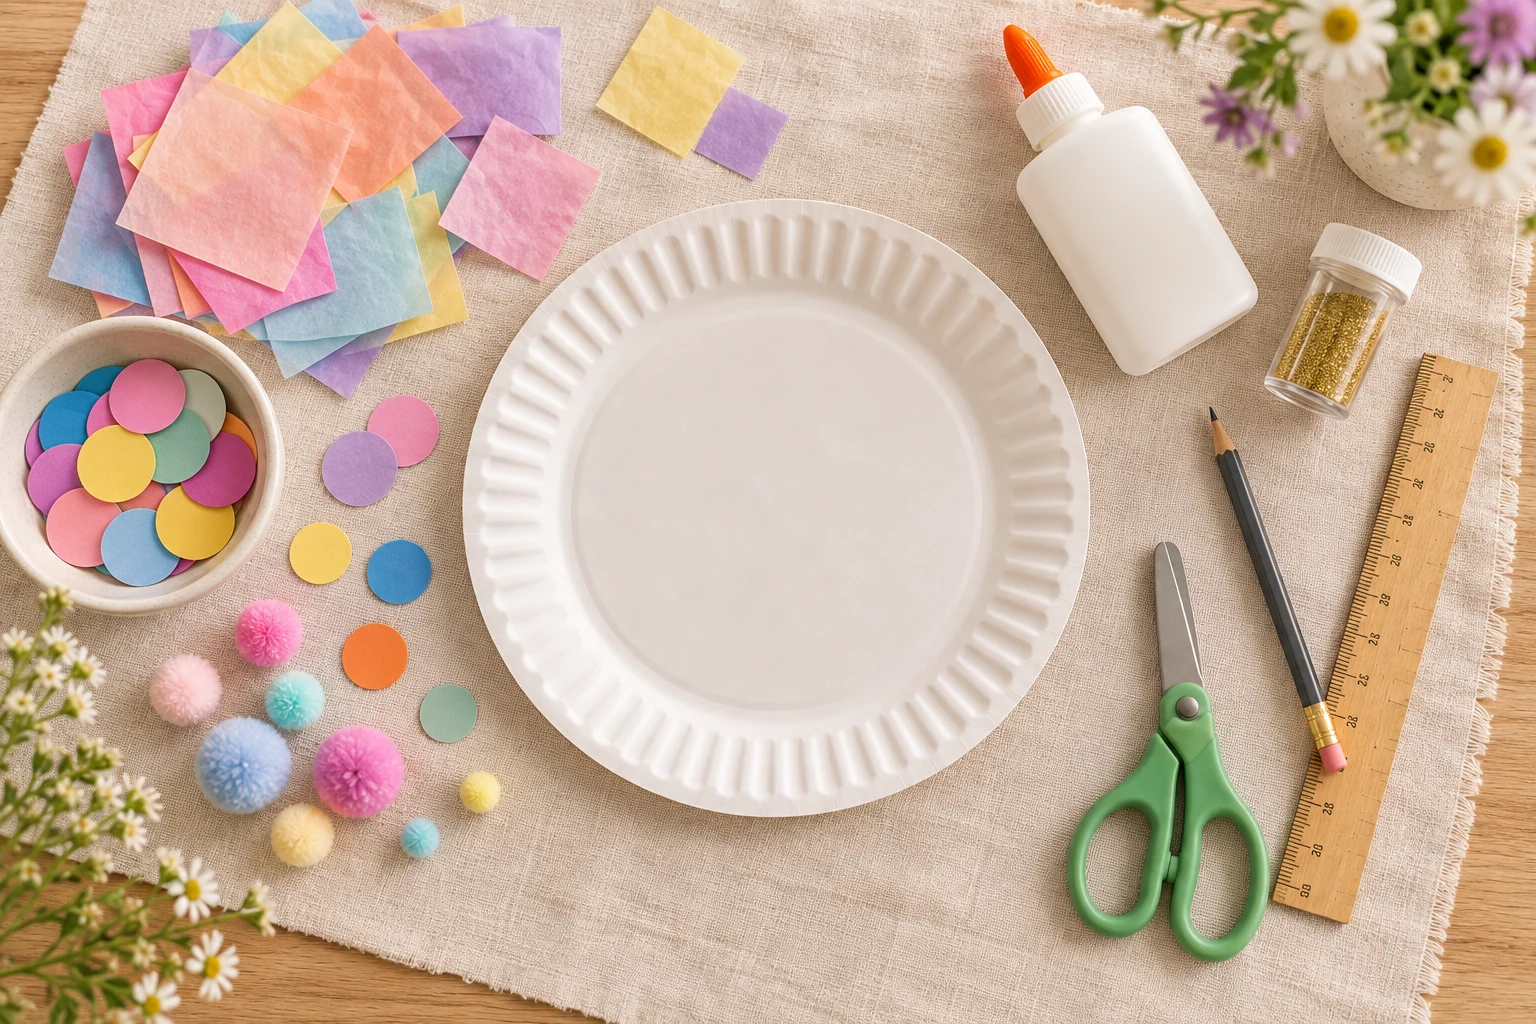
For a bright indoor version, set out a small collection of colorful craft materials and let the child choose what belongs on each point.
Colorful crown materials
- Small pieces of tissue paper
- Pompoms
- Paper shapes or confetti
- Crayons, washable markers or paint, if desired
- Glitter or glitter glue, optional
- Washable craft glue
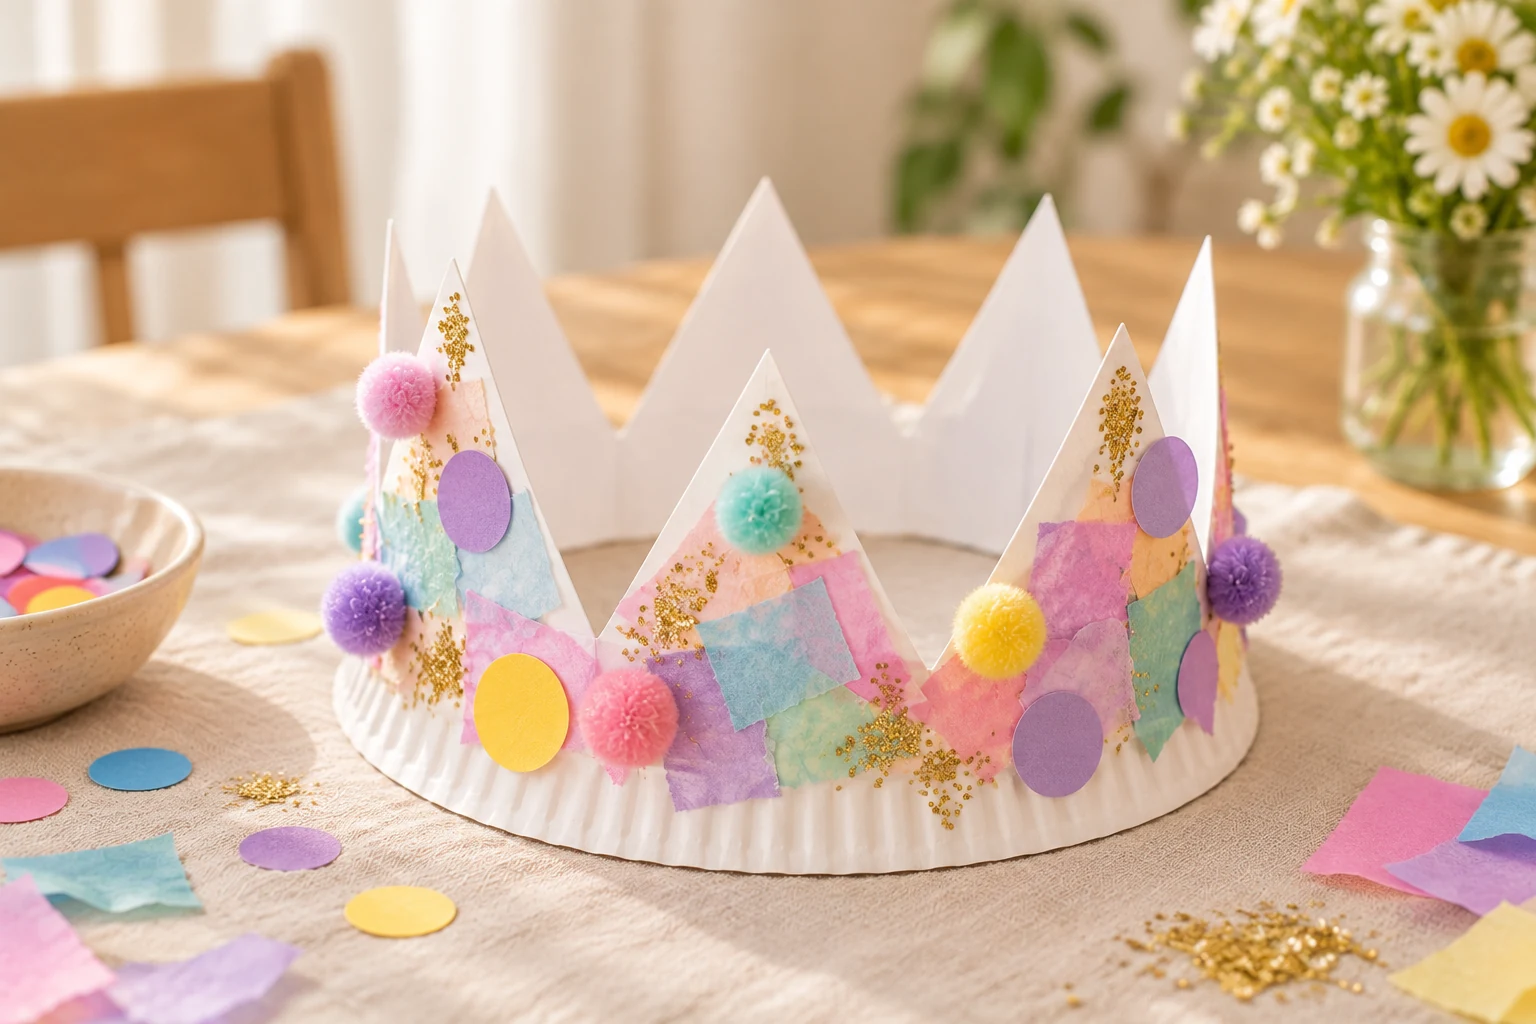
Brush or dab a thin layer of glue onto the crown and overlap torn pieces of tissue paper to create soft blocks of color. Add paper shapes and pompoms once the first layer is in place. A little glitter glue gives the crown sparkle with less mess than loose glitter. Let everything dry completely before wearing it.
Make it part of a story
Once the crown is dry, the real fun can begin. Is it worn by the ruler of a tiny woodland kingdom? A birthday prince or princess? A brave explorer who has just discovered a land of talking animals?
You could even invite your child to draw or color the character who would wear their crown. Simple crafts like this can become the beginning of an entire afternoon of storytelling and pretend play—and that is often where the best childhood memories begin.
Helpful tips
- Protect the table with reusable craft mats or newspaper.
- Decorate lighter paper pieces before adding heavier pompoms or twigs.
- Use glue sparingly so the paper plate does not become soggy.
- Let fresh nature finds dry before gluing them to the crown.
- Write the child’s name and the date underneath the rim as a sweet keepsake.
Keep the imagination going.
Give your little storyteller a personalized coloring adventure to make their own.
Choose a story